生活,在折腾中找到快乐
当年带我捡垃圾的小伙伴儿出掉了蜗牛、出掉了暴风,然后洗白上岸,上了威联通的车。以后要一个人继续捡垃圾了
然后,我就被安利了群辉没有的浏览器套件,通过威联通的浏览器套件就可以访问内部设备了,再也不用一个端口一个端口的映射了,科学安全还效率,真香
别人家的威联通有,我也要给群辉搞一个(发出白嫖的声音)
是时候请出oldiy大神了,他搞了三个docker的浏览器容器:
- 一个Chrome浏览器 docker
- 一个火狐浏览器 hub.docker
- 一个火狐浏览器+Enpass docker
安装方法基本都是一样的,现在我要开始开车群辉docker下的Chrome了
1、打开群辉的docker,在注册表搜索:oldiy
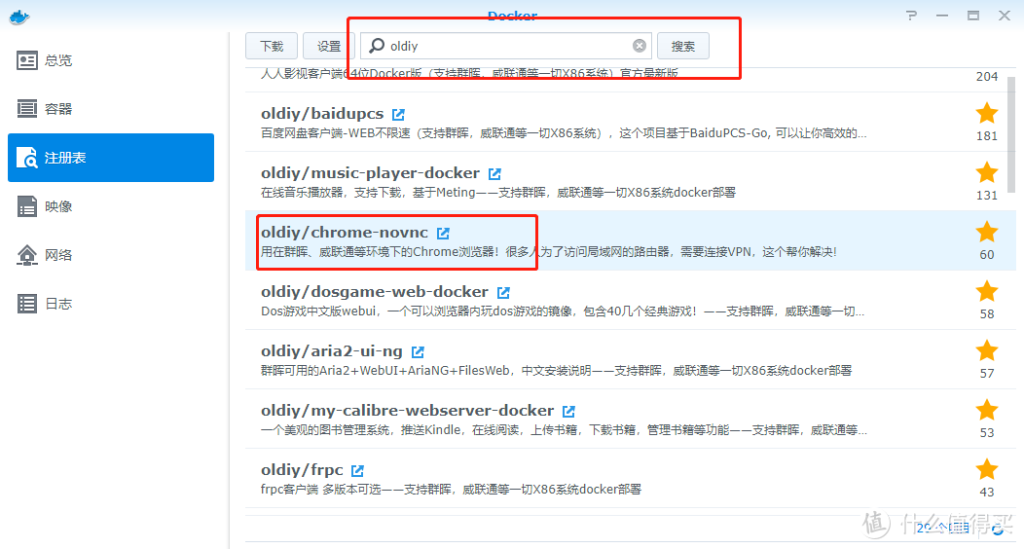
找到chrome-novnc这个镜像,双击下载
打开 hub.docker这个镜像地址看下老哥写的说明
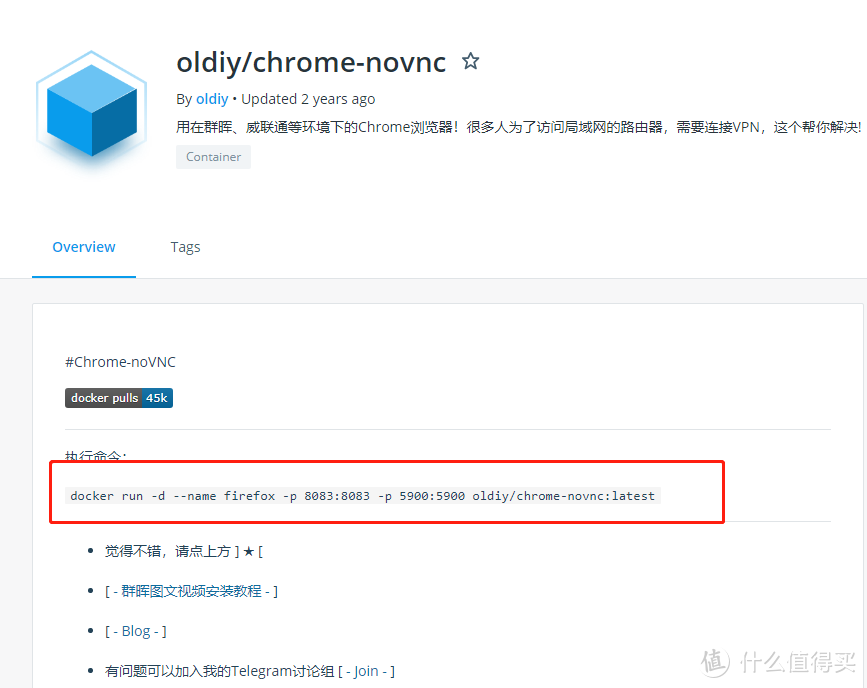
这里看到docker run的命令只有端口映射选项,不需要目录挂载
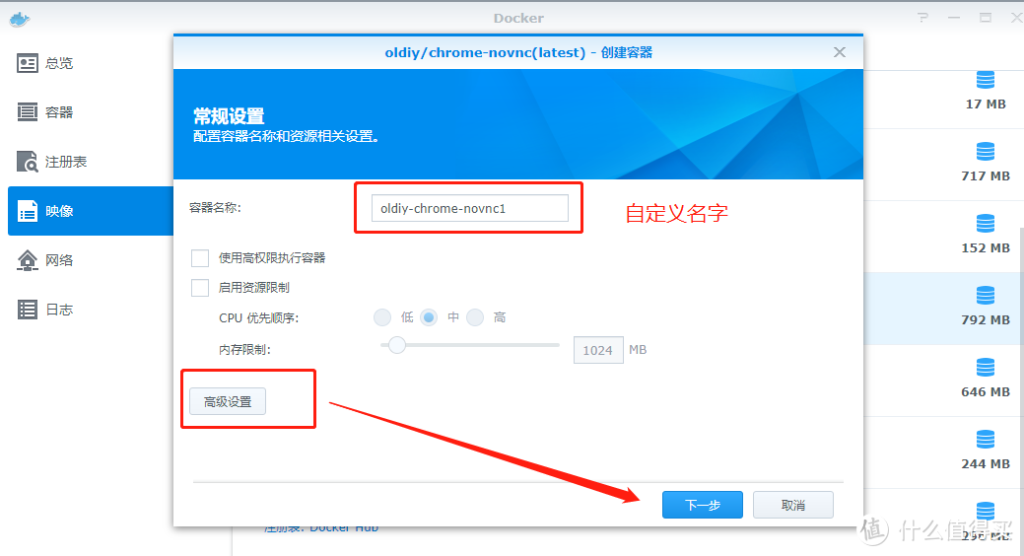
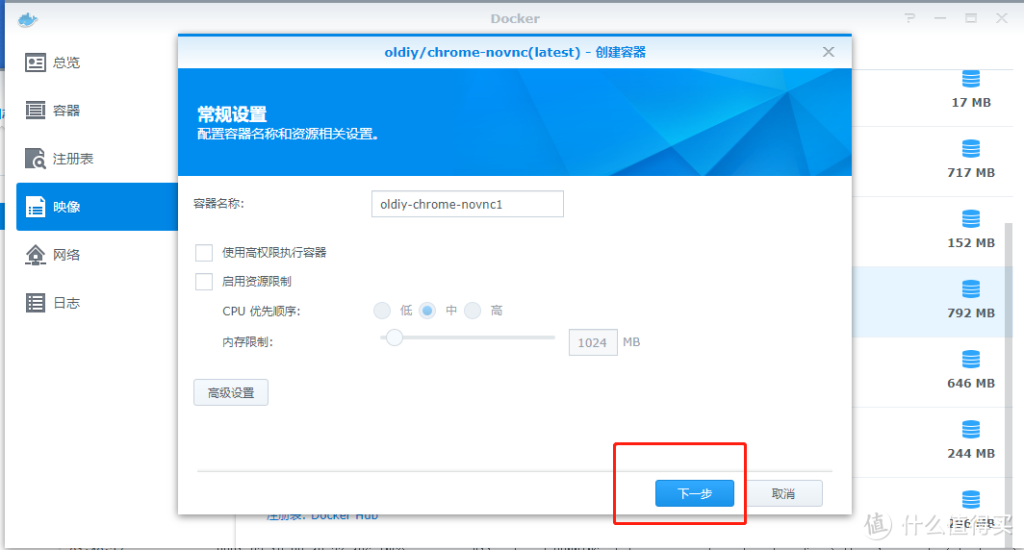
2、开始配置容器
镜像下载完成后,在映像下找到刚才下载的Chrome容器,双击启动,开始配置
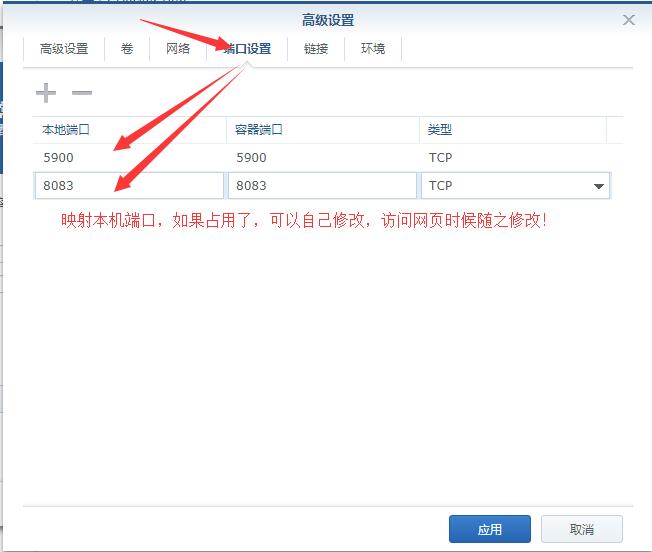
这里只需要配置端口就行了,容器端口这里不动,配置本地端口为自己想用的端口,简单点儿就直接跟容器端口一样,如果已经有服务使用了5900/8083的端口,更换成尚未被使用的端口即可。
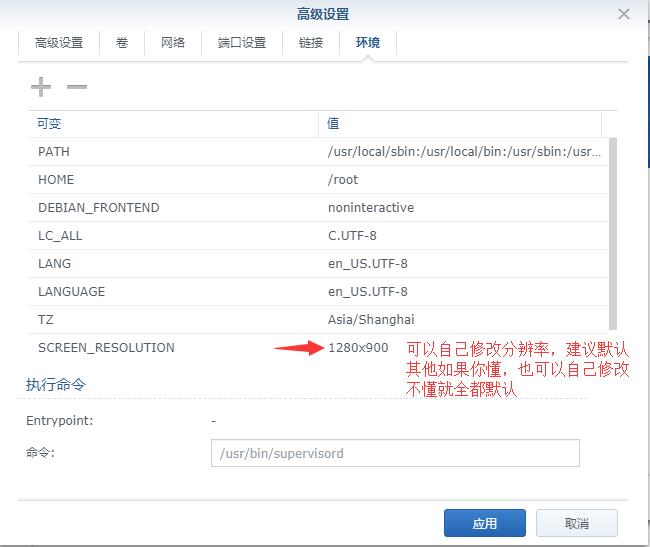
配置好之后点击应用,然后下一步
没有问题就应用,启动容器
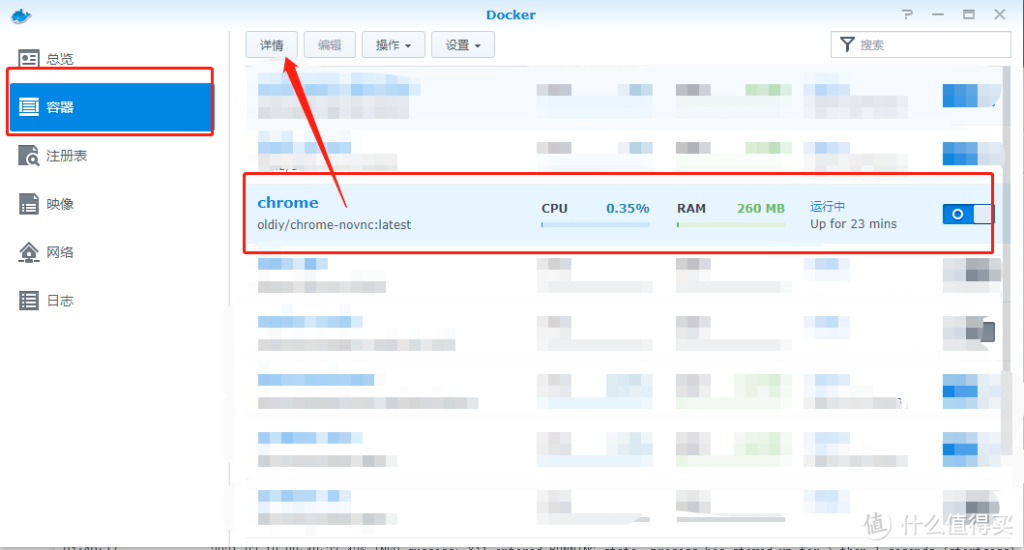
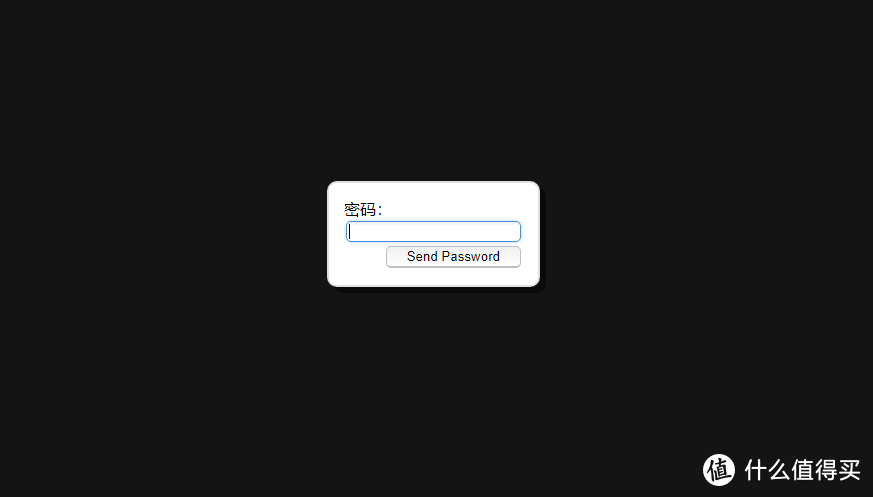
3、给Chrome加上密码,防止被人勾搭走
在docker的容器选项里找到刚才启动的Chrome,点击详情
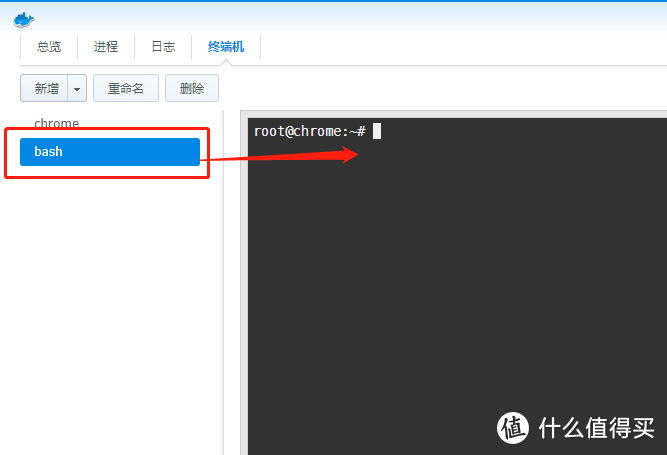
点击终端机,然后点击新增,新增一个bash终端

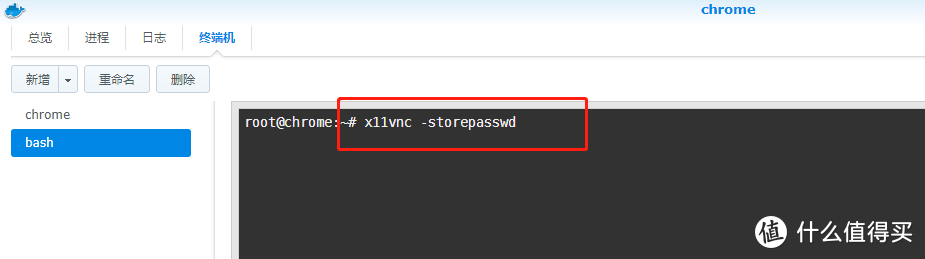
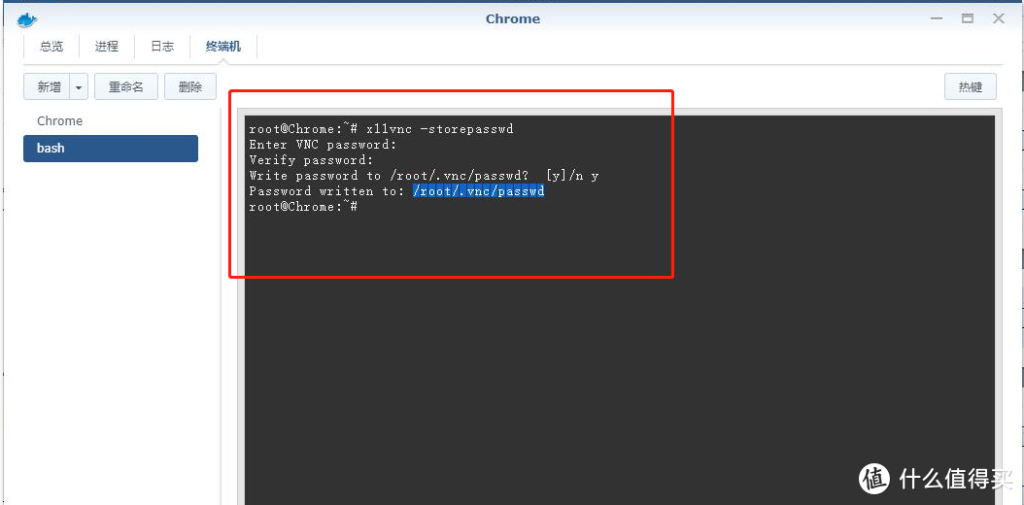
输入:x11vnc -storepasswd
按回车开始配置密码

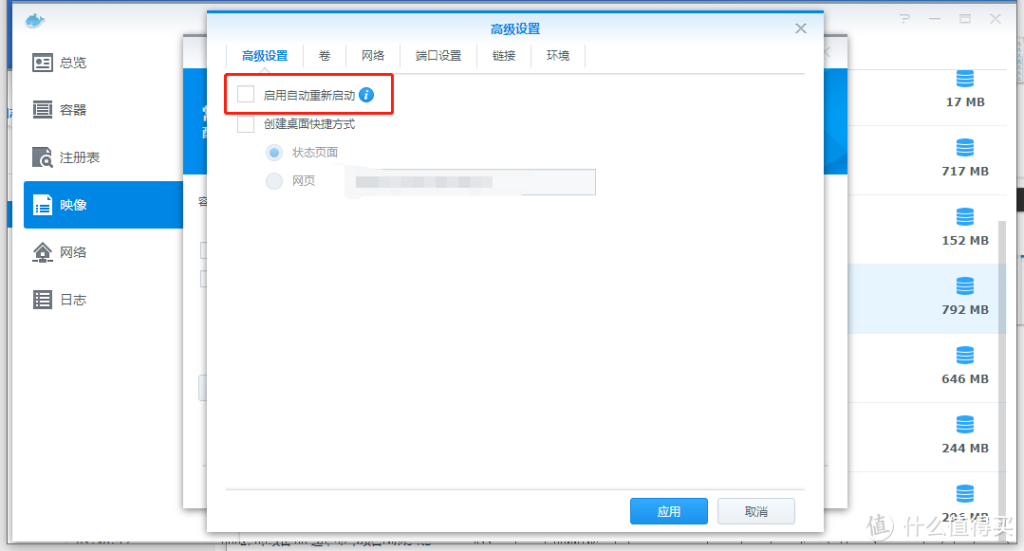
4、让容器启动时自动加载密码配置
继续在刚才的bash终端进行配置
输入:apt update
这一步是同步软件包

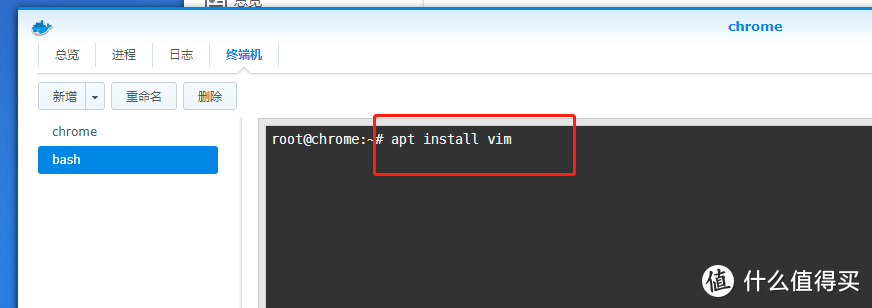
输入:apt install vim -y
安装vim工具
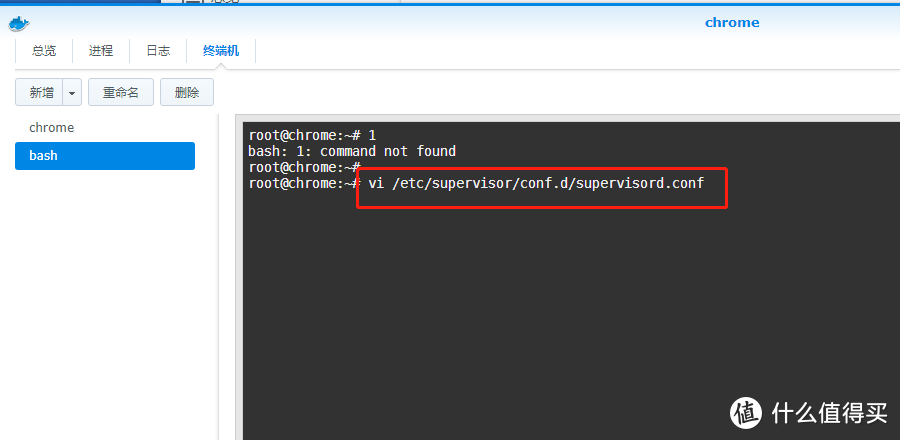
输入:vi /etc/supervisor/conf.d/supervisord.conf
将键盘切换到英文输入状态,按字母 i 键
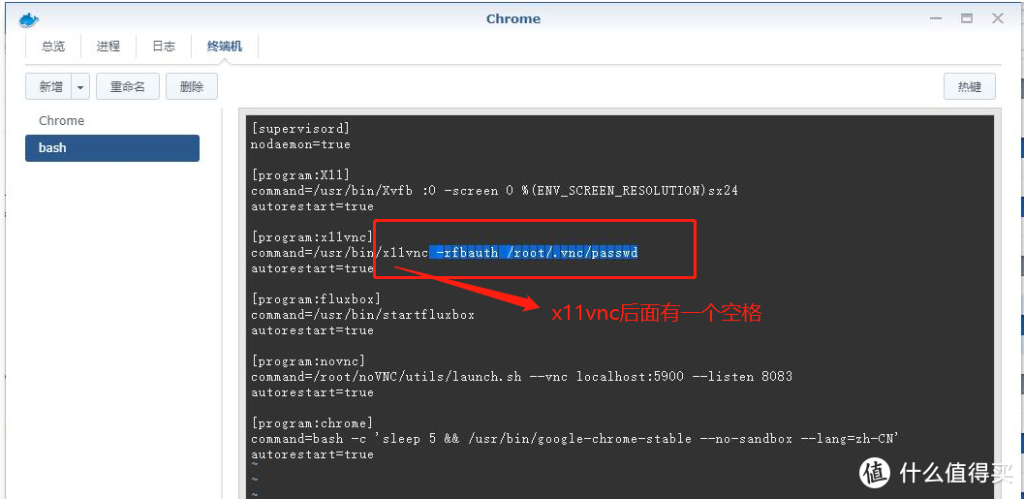
使用键盘上下左右键的下键将光标移动到图中所在行,然后使用上下左右键的右键将光标移动到x11vnc后面
输入: -rfbauth /root/.vnc/passwd
这里可以用鼠标右键粘贴
确认无误后按键盘ESC键退出编辑模式,然后按shift+冒号(shift + :),输入wq,会保存退出
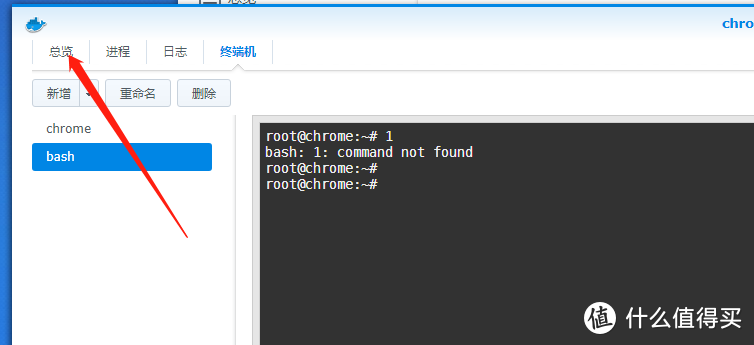
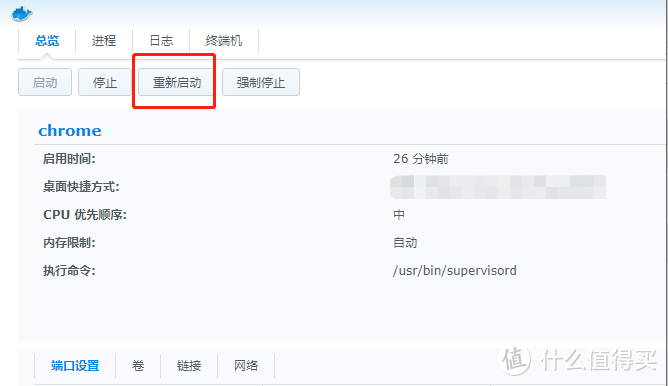
回到总览选项,重启启动容器
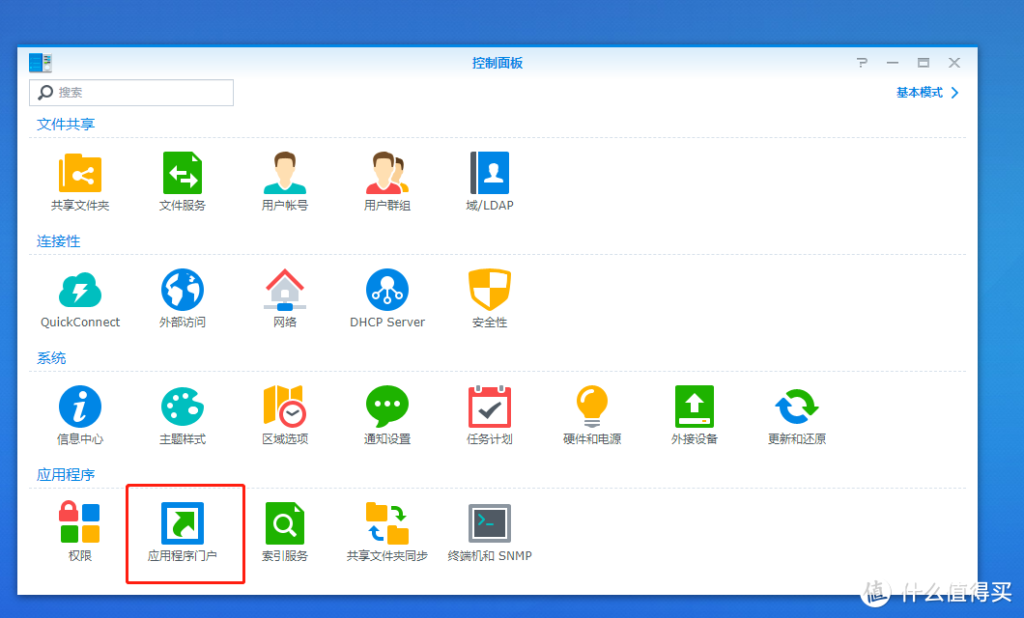
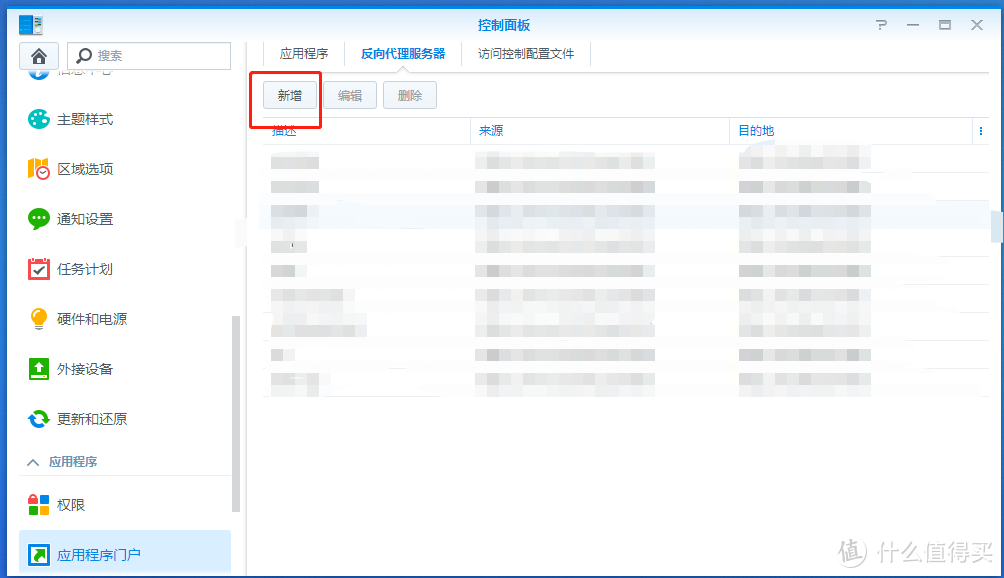
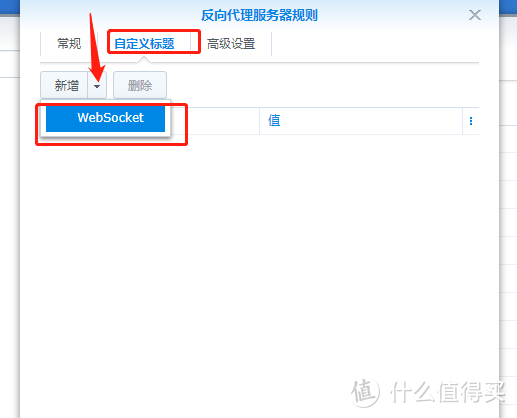
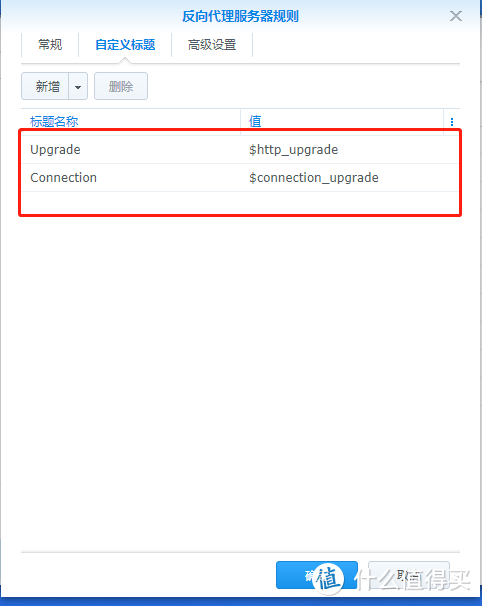
5、反向代理开启https
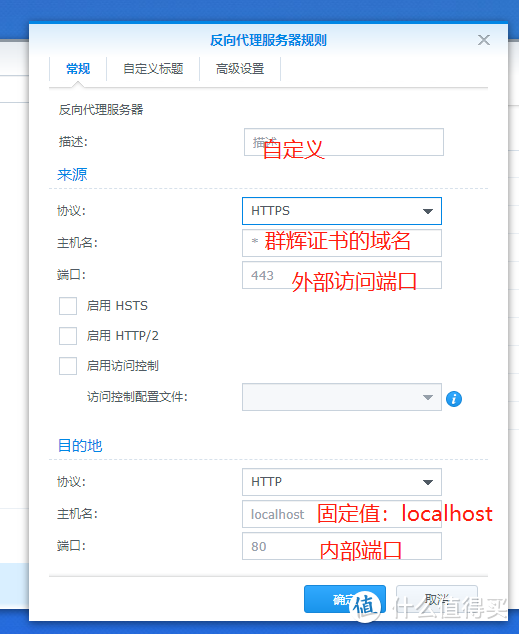
6、反向代理配置后在路由器开启端口转发,是转发外部访问端口,比如外网ip:1234到内网ip:1234
访问地址:https://xxxxxxx:yy/vnc.html
文章转自:https://post.smzdm.com/p/alx7ev6e/